
Designing Your Family Photo Frame
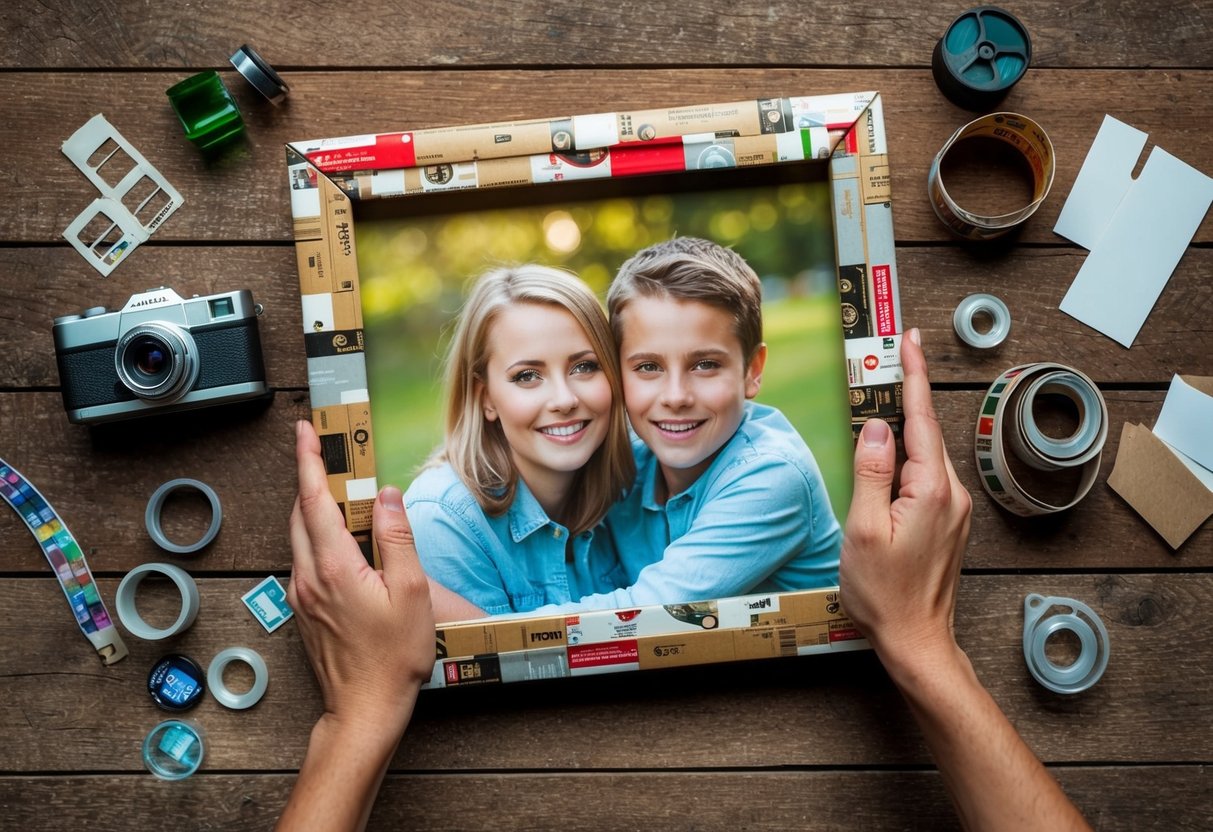
Creating a family photo frame involves selecting a theme and arranging photos alongside decorative elements to enhance the aesthetic. The design significantly impacts the frame’s ability to serve as a cherished keepsake and a visually appealing display.
Choosing a Theme for Your Frame
Selecting an appropriate theme is crucial for unifying the look of the photo frame. Themes can range from rustic using recycled wood to elegant with metallic finishes. Consider options like nautical, vintage, or minimalist depending on the decor of the room. The theme sets the tone and can influence color choices and materials. Decorative paper can be used inside the frame to match the chosen theme. Coordinating colors and textures creates harmony, making the display visually captivating. The theme should complement the family photos to maintain focus on personal memories.
Arranging Photos and Decorative Elements
Arranging photos requires careful consideration to achieve a balanced look. Firstly, decide on the layout, whether it’s symmetrical or a more casual collage. The size and shape of each photo should be considered to avoid visual clutter. Photos should be the primary focus, with decorative elements enhancing but not overpowering them. Elements like ribbons, beads, or pressed flowers can add interest. Ensure these elements do not obscure any part of the photos. Instead, they should frame or accentuate the images, transforming the frame into a piece of art. Proper arrangement maintains focus on treasured memories while adding artistic value.
Building the Frame Structure
Creating a DIY family photo frame using recycled materials starts with constructing a sturdy base and fortifying it for durability. The process involves measuring, cutting, and assembling, focusing on stability and appearance.
Cutting and Assembling the Base
The backbone of a photo frame lies in strategically cutting and arranging the base materials. Popsicle sticks offer a great solution due to their uniform size and availability. Begin by deciding the frame dimensions. Measure and cut the sticks accurately, ensuring all pieces fit together snugly. Arrange the popsicle sticks side by side in a square or rectangle, aligning the ends precisely. Use a glue gun to secure each connection point. Hot glue ensures a strong bond, setting quickly to hold the structure in place. Check for any gaps or misalignments, adjusting as necessary to maintain a uniform frame edge. A well-balanced base ensures the frame can hold the weight of photos and decorations effectively.
Strengthening the Frame
Reinforcing the frame adds longevity and sturdiness, allowing it to support photos effortlessly. Layering additional popsicle sticks along the inner edges can increase load capacity. Overlap these sticks with the existing frame structure, applying hot glue liberally to bond them together. Pay particular attention to corners, as they are common stress points. Adding diagonal sticks can further support and distribute weight more evenly. To enhance aesthetic appeal while reinforcing, consider incorporating decorative recycled materials, such as cardboard or lightweight fabric. These embellishments not only beautify the frame but also contribute to its strength. Proper reinforcement prepares the frame for hanging and display, ensuring it will securely protect cherished family photos.